CV of Justin Lang

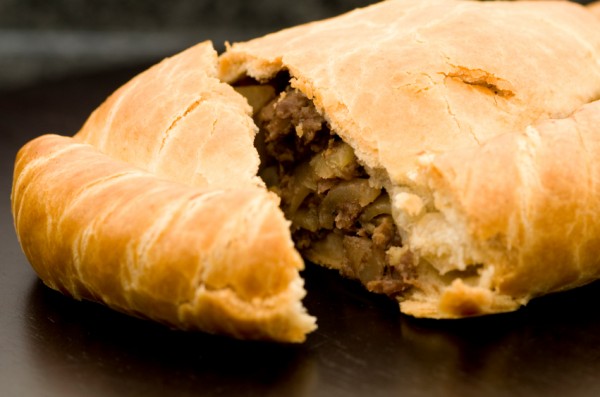
The ORIGINAL Pasty Recipe

Pasty

Original Pasty

Crust

  • 3 c. flour
  • 1 1/2 sticks butter (cold and cut into bits)
  • 1 1/2 tsp. salt
  • 6 tbsp. water

In a large bowl, combine flour, butter and salt.  Blend ingredients until well combined and add water, one tablespoon at a time to form a dough.  Toss mixture until it forms a ball.  Kneed dough lightly against a smooth surface with heel of the hand to distribute fat evenly.  Form into a ball, dust with flour, wrap in wax paper and chill for 30 minutes.

Filling

  •      1 lb. round steak, coarsely ground
  •      1 lb. boneless pork loin, coarsely ground
  •      5 carrots, chopped
  •      2 lg. onions, chopped
  •      2 potatoes, peeled and chopped
  •      1/2 c. rutabaga, chopped (can substitute turnip)
  •      2 tsp. salt
  •      1/2 tsp. pepper

Combine all ingredients in large bowl.  Divide the dough into 6 pieces, and roll one of the pieces into a 10-inch round on a lightly floured surface.  Put 1 1/2 cups of filling on half of the round.  Moisten the edges and fold the unfilled half over the filling to enclose it.  Pinch the edges together to seal them and crimp them decoratively with a fork.  Transfer pasty to lightly buttered baking sheet and cut several slits in the top.  Roll out and fill the remaining dough in the same manner.  Bake in a preheated 350 degree oven for 30 minutes. Put 1 tsp. butter through a slit in each pasty and continue baking for 30 minutes more.  Remove from oven, cover with a damp tea towel, cool for 15 minutes.

Milwaukee Journal March 28, 1943  Welsh


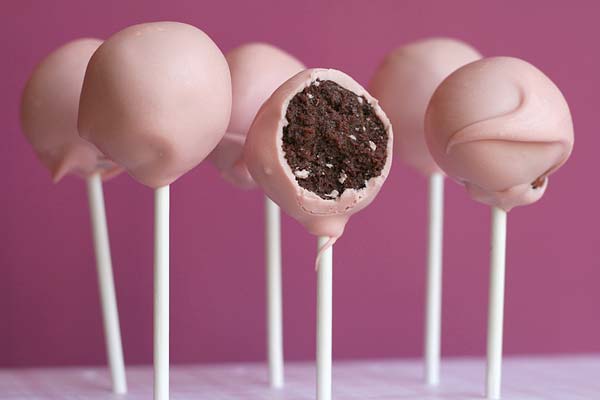
CakePopsicle

I am ALWAYS on the hunt for a good desert.  My theory with this one is, since you cannot have cake all the time, and is seems to be “hard to make”. Why not have them in bite size?

I’ll have to try this one out VERY soon. Well.. maybe not ME, but someone I know. ;)

Ingredients

  • 1 Box of Cake Mix ( I chose chocolate)
  • 1 Can of Cream Cheese Frosting
  • ~50 Lollipop sticks
  • Candy Melts (2 bags)
  • Sprinkles (for fun)
  • Styrafoam board
Directions
  1. Cook cake as normal
  2. Let cake cool, the crumble up and add cream cheese frosting
  3. Roll cake “mixture” into quarter sized balls and place on parchment paper
  4. Add Lollipop sticks
  5. Place into freezer for 2 hours or fridge for 4 hours
  6. Melt candy as per directions on bag
  7. Dip cakepopsicle into candy melt until coated evenly
  8. Add sprinkles after each cakepopsicle
  9. Place stick into styrofoam to dry and harden


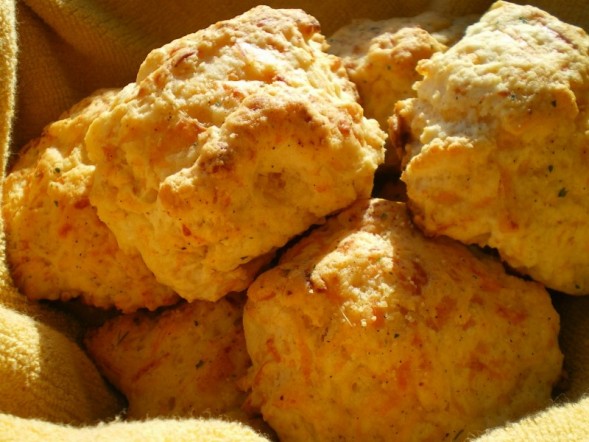
Cheddar Bay Biscuits

I’ll be honest, I have never heard of these or have ever had these.  Apparently that are a HUGE deal and only Red Lobster makes them.  Maybe I will have to experiment….

Ingredients:

  • 2 cups Bisquick
  • 2/3 cup milk
  • 1/2 cup shredded cheddar cheese
  • 1/4 cup butter
  • 1/2 teaspoon garlic powder
  • 1/4 teaspoon Old Bay Seasoning
Instructions:
  1. Heat oven to 450.
  2. Combine Bisquick, milk, and cheddar cheese.
  3. Stir together.
  4. Spoon onto an ungreased cookie sheet.
  5. Bake for 8-10 minutes.
  6. In a small sauce pan combine butter, garlic powder and old bay seasoning.
  7. Heat until butter is melted.
  8. Spoon butter mixture over hot biscuits.

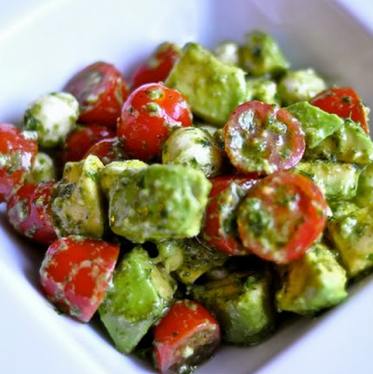
Mozzarella, Tomato & Avocado Salad

Ingredients

  • 1 container cherry tomatoes, cut in half
  • 1 carton fresh mozzarella cheese pearls, drained
  • 1 avocado, peeled and diced
  • 1/3 cup basil, julienned
  • 2 tablespoons fresh parsley
  • 1/4 cup lemon juice
  • 1/4 cup olive oil
  • salt and pepper
  • baguette-optional
  1. In a large bowl, combine the tomatoes, mozzarella, basil and parsley. Set aside.
  2. In a small bowl, whisk the lemon juice, oil, salt and pepper. Pour over tomato mixture. Toss to coat. Cover and refrigerate for 1 hour before serving.
  3. Just before serving the salad, stir in the chopped avocados. Serve salad with toasty bread.

Source: EveryThingFab


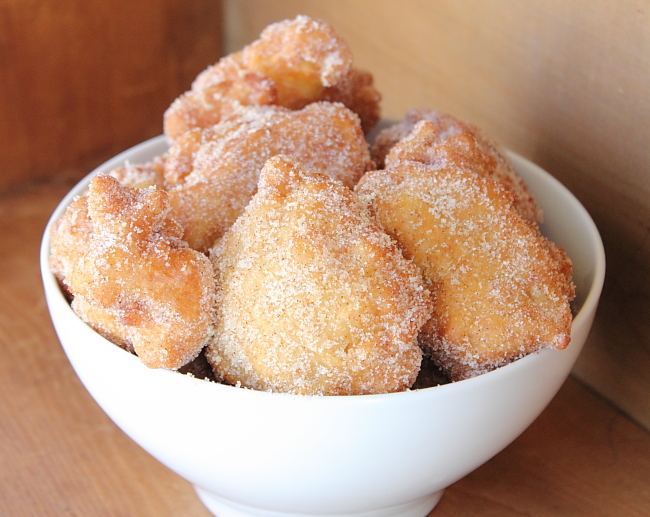
Chuckwagon Apple Fritters

Yet another desert recipe. I must be hungry for desert or something!  I think the fact that we don’t have any ice cream on hand plays a big role in to my posting tonight. Check out www.scarlettabakes.com for more tasty photos and how they came about. FINALLY, the recipe!

Chuckwagon Apple Fritters

  • 2 c. self-rising flour
  • 1/4 c. dark brown sugar, packed
  • 1/2 tsp. salt
  • 1 c. buttermilk
  • 3 large eggs
  • 5 apples (I opted for 2 Pacific Roses and 3 Braeburns – feel free to mix it up and go with any variety and combination that you prefer.)
  • 1 tbsp. lemon juice, fresh
  • 1 1/2 c. white sugar, granulated
  • 1 tbsp. cinnamon, ground
  • 1 tsp. ancho chile, ground
  • 4 c. peanut oil (This is for frying. I prefer to fry with peanut oil, but you can go with any other light oil. Just be sure to adjust your heating temperature accordingly [see my tips for successful fritter frying below].)

Prepare the apples by peeling all 5, shredding 2 of the apples, and roughly chopping 3 of the apples. Again, you can do this in whatever combination you prefer, the idea with the shredding and chopping is to get a variety of textures going on in your fritters.

To prepare your fritter batter, place the flour, brown sugar and salt in a large bowl. Stir in the eggs, buttermilk and lemon juice, mixing just until you have a uniform batter. Fold in your apple pieces.

Meanwhile, heat your peanut oil in a large, heavy-bottomed pan. Following are a few tips for successful fritter frying:

  1. Don’t make your fritters too large. Fritters that are bigger than a tablespoon of batter won’t cook through and are much more likely to burn as you fry them. Don’t worry, the batter expands as you cook it. Stick with a tablespoon for scooping your fritters, and lightly grease it on both sides so that the batter slides right out into the hot oil.
  2. Your oil can’t be too hot when you begin frying or your fritters will burn instantly. Heat the oil over medium-high heat and don’t be scared to test your oil’s temperature with a few trial fritters. The fritters should take approximately 2 minutes to cook on each side – they will turn a deep golden brown as you fry them.
  3. Flip your fritters regularly. Watch them closely. The color is key. Look for dark, golden-brown – no black.
  4. Don’t over-crowd your fry pan. Work in batches of 4-5 fritters at a time.
  5. It may be necessary to skim away any small pieces of residue or little fritterettes in between batches. Keeping your oil clean by removing these bits will maintain its temperature.

Once your oil is at the appropriate temperature, use a greased tablespoon-sized scoop to drop the batter into the oil. Fry your fritters using the instructions that I included above. As soon as they have cooked, remove them to paper towels to drain and cool slightly.

Meanwhile, mix the white sugar, cinnamon and chile powder in a small bowl. As soon as the fritters are cool enough to handle, toss them in the chile sugar and serve.

YIELD:  approximately 25 fritters (For reference, my finished fritters were approximately 2-3″ around.)

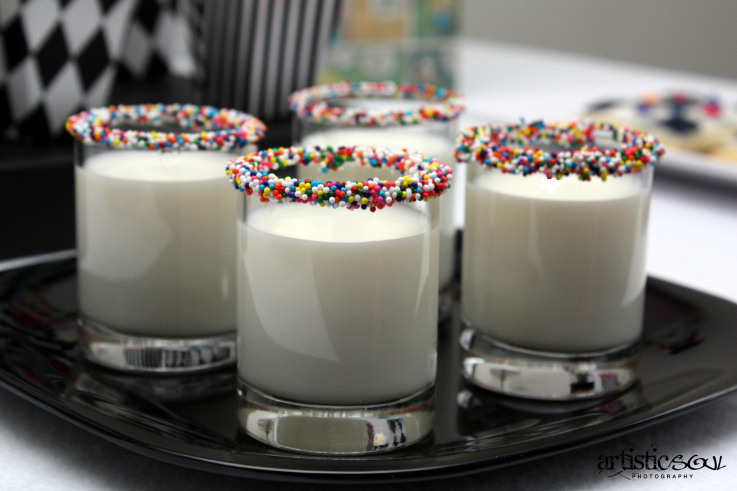
Milk Shots


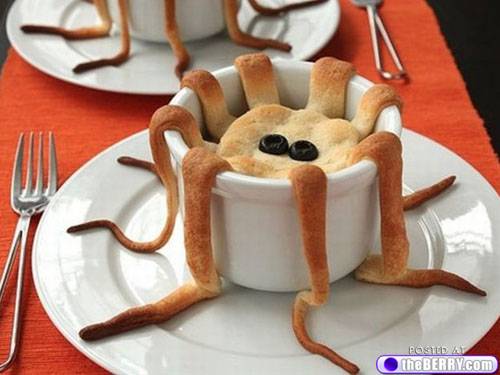
There’s an Octopus in my soup!


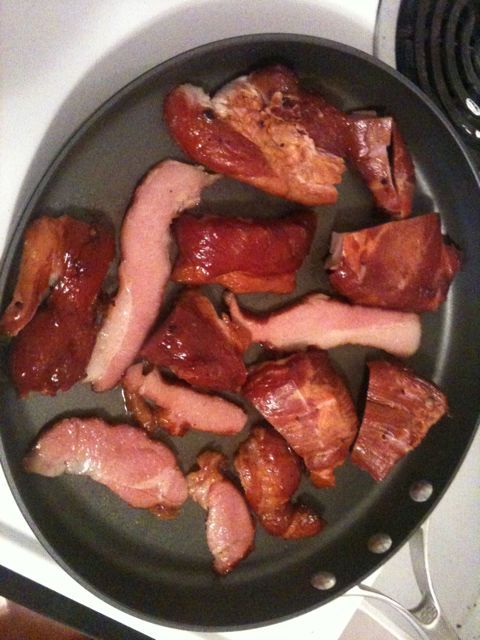
BACON… mmm

I just remembered this photo from last week. Mmmmmmmmmmmm BACON


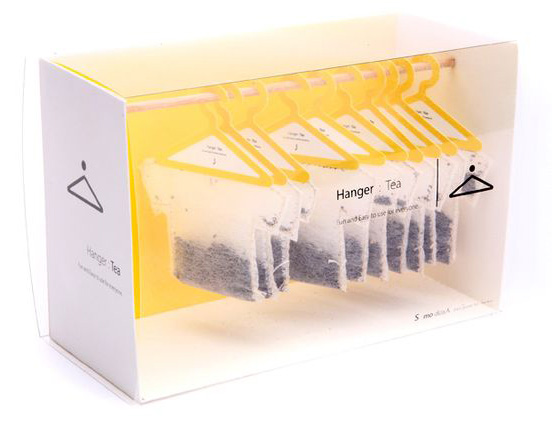
Hanger Tea – Great Packaging

What a neat design.  Some people are so creative!


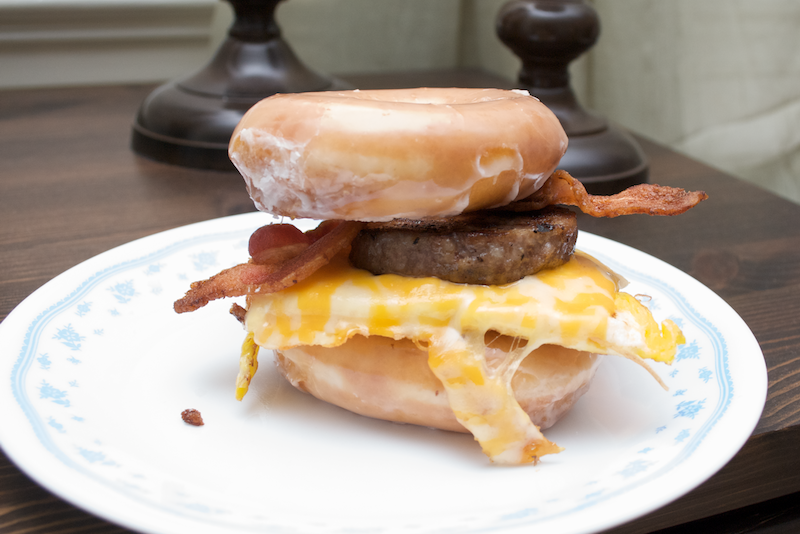
Doughnut Egg Sandwich

Last week, I found a CRAZY idea for a breakfast sandwich that got my taste buds in a roar.  I could not stop thinking about it all week.  I was just dying for the weekend to come to try it out.  Let me tell you, the wait and anticipation was WELL worth it!

I present to you, my version of the Bacon, Sausage, Egg and Cheese on doughnuts.  It took quite a bit of prep work to make this happen, but OH it was worth it.  Not only did we have to fry the bacon and the sausage, but I had to run to Krispy Kreme in the morning… IN THE SNOW to get a fresh, hot of the line dozen of glazed doughnuts. Which I believe made all the difference.

There was about 1 hour of prep time getting the sausage and bacon fried up, but like normal, we cook more then we need and freeze the rest for later consumption.  Then there was the frying of the egg and melting the cheese just right.  Before putting the egg and cheese onto the doughnut, I made sure to let it sit and cool for a minute or two so the heat from the egg didn’t melt the glaze on the doughnut.  Why make it more messy then it needed to be right?

Overall, well worth the wait, prep time and trouble. All of the flavors combined together made one hell of a nice breakfast sandwich!  I highly recommend trying it once.